Video Instructions
Video
- Video format: MP4
- Resolution: 720p with 4000 kbps
- Image format: Landscape format (16: 9)
Video length:
Full oral – max. 18 minutes
Short oral – max. 5 minutes
Q&A will be held, live, at the end of each session.
Instructions on how to upload your video to the digital platform can be found below.
If you have any troubles uploading your video, please send an email to support.estad2021@appinconf.com
General information
- In order to include PowerPoint images or similar in the video, make sure it is either embedded or presents on a screen next to it.
- A recorded zoom call with your portable camera and presentation through the split-screen feature also works. See further down the page how to do this.
- If possible, use an external microphone and make sure there are no lights from windows or lamps behind you. Be sure to point the light behind the camera towards you.
- We recommend using Zoom as the video of the presenter, together with a shared powerpoint, is best presented.
- If using MS Teams the presenter will be visible in the lower right corner and might be blocked by other video content in the platform.
How to Upload video to the virtual platform
See the full step-by-step in the video below
Go to https://virtual.appinconf.com/register and register with your email address. Please note that it’s important to register with the same email address as the address from which you received the upload instructions email.
Once you have accessed the platform, enter the conference code estad2021 and click the button “Request to join”.

(Click on the image to enlarge it)
You will land on the Welcome page of Estad 2021. Please note that this page might be under construction and you are given early bird access in order to upload your presentation.
Locate your name in the upper right corner and click on it, continue by clicking on the menu item “My profile”.

(Click on the image to enlarge it)
You have now reached your Profile where you will see all presentations or events that you have an active role in.

(Click on the image to enlarge it)
When you click on the name of an event you will be brought to the “session page” in which your presentation is scheduled.
Below your presentation you will see an infobox with a link to upload a video.

(Click on the image to enlarge it)
Click on the “Upload video”-icon and select the file you wish to upload.
Please note that the video needs to be in MP4-format and not bigger than 500mb.
Additional information:
-The video will be compressed and uploaded to a third-party service (Vimeo) that will host the video.
-The video will be private and not publicly available.
-The menu bar will close automatically once the upload is finished and you will see a success message in the lower-left corner.
-Depending on the file size and your internet connection this may take several minutes.
-You will receive an email once the video has been processed and uploaded to the virtual platform. You will now be able to see the video from your presentation.
-Other participants will not see your video before the conference has started.
Please note:
The video will not be available in the list until the above process is complete.
When this has happened, you will be notified by email.
Recording presentation via Zoom
Information to record presentation via Zoom
- First, make sure you have Zoom installed. If this is not installed, you can do so via the link: https://zoom.us/download.
- Start Zoom and log in via your Gmail account, Facebook, or create a new account. You can create a new Zoom account for free at: https://zoom.us/freesignup/
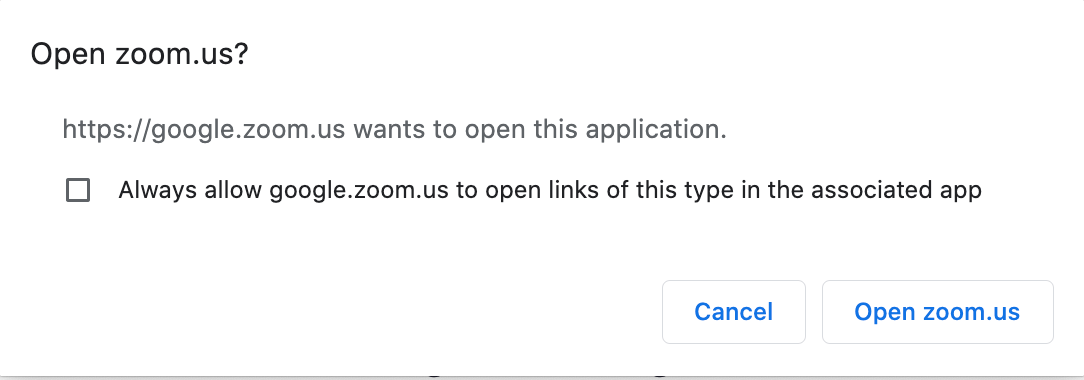
- Once you have logged in, the box below will ask if you want to open this application. Click on “open zoom.us”
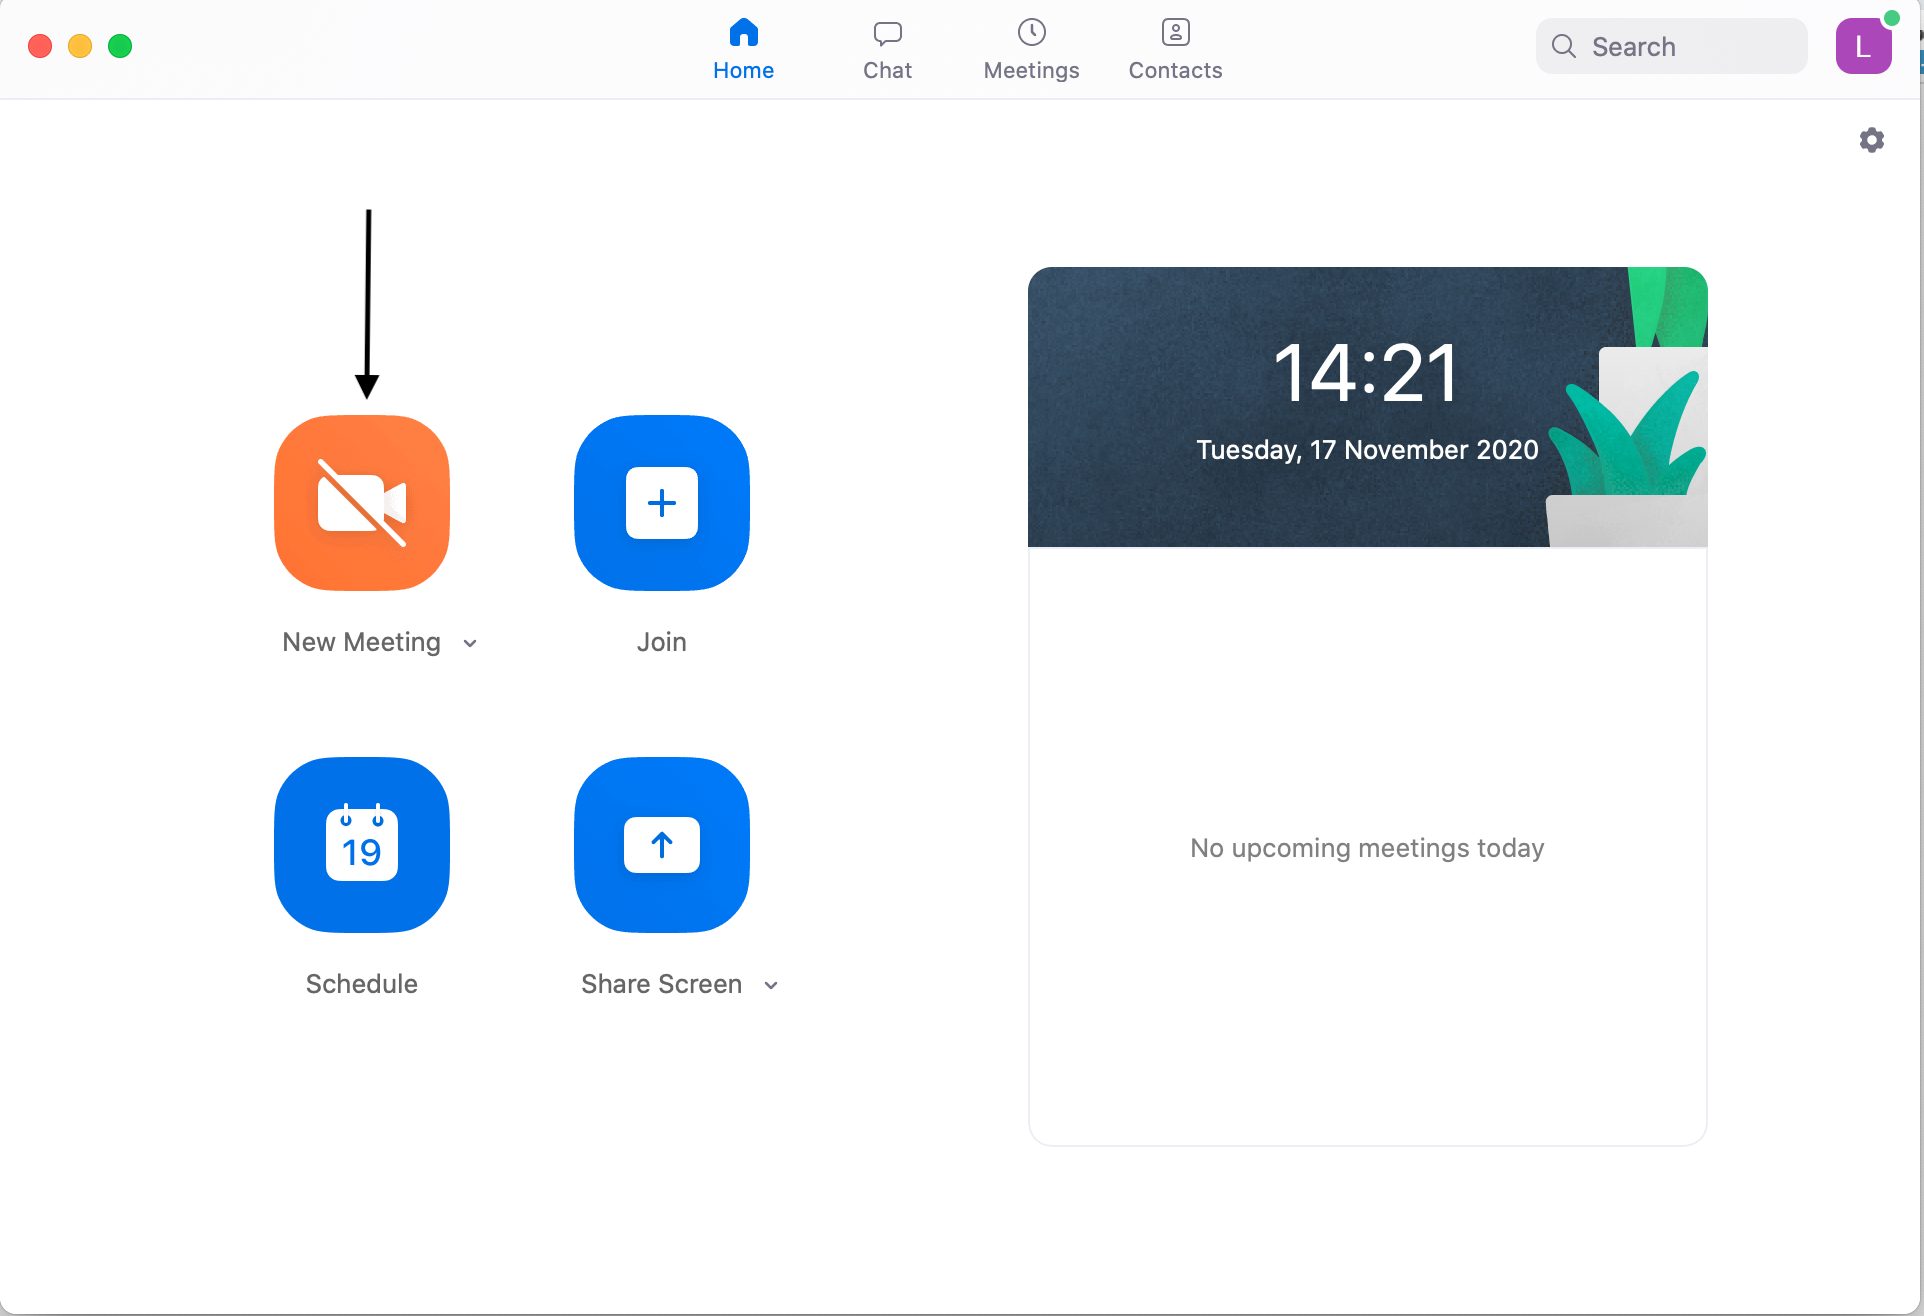
4. Now Zoom will start and you will see the image below. Click on “New Meeting”
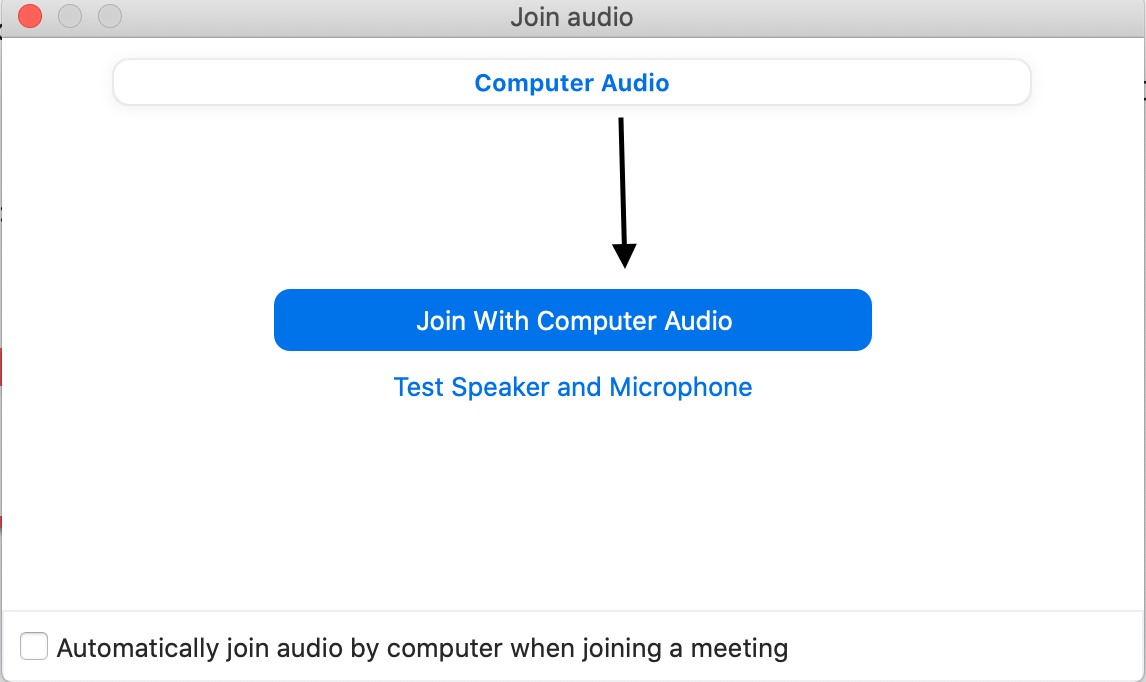
5. Zoom will ask if you want to use the computer’s speaker and microphone, click on “join with computer audio” (see picture below).
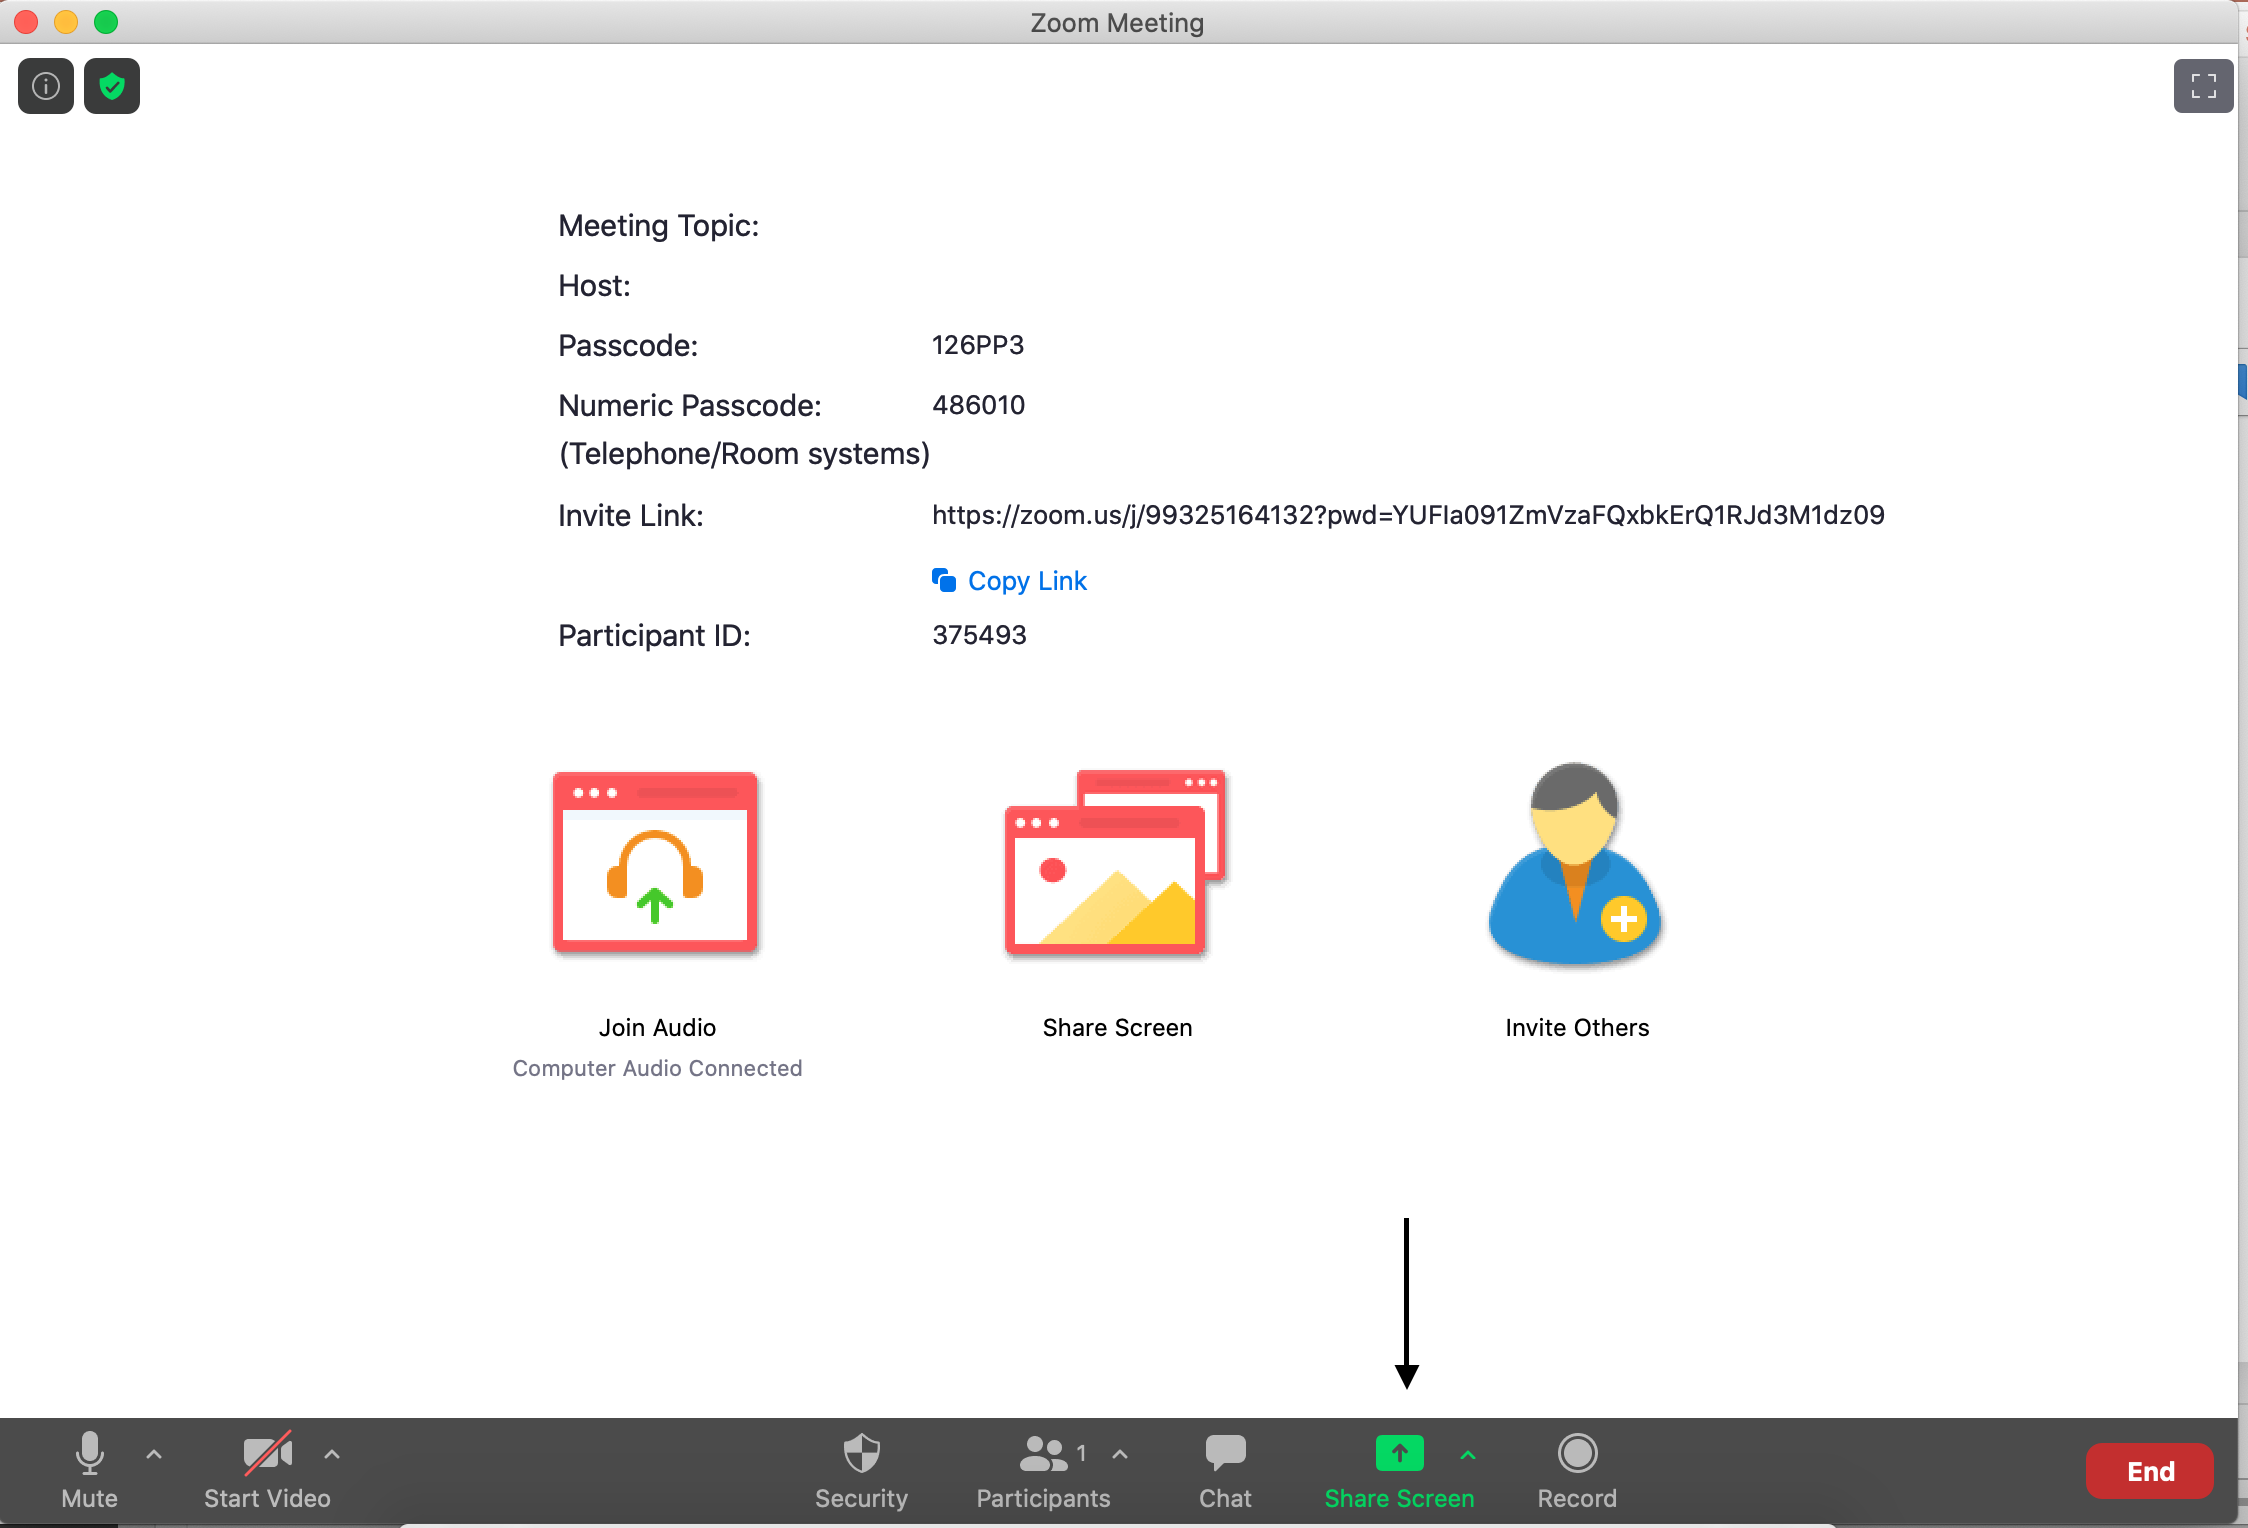
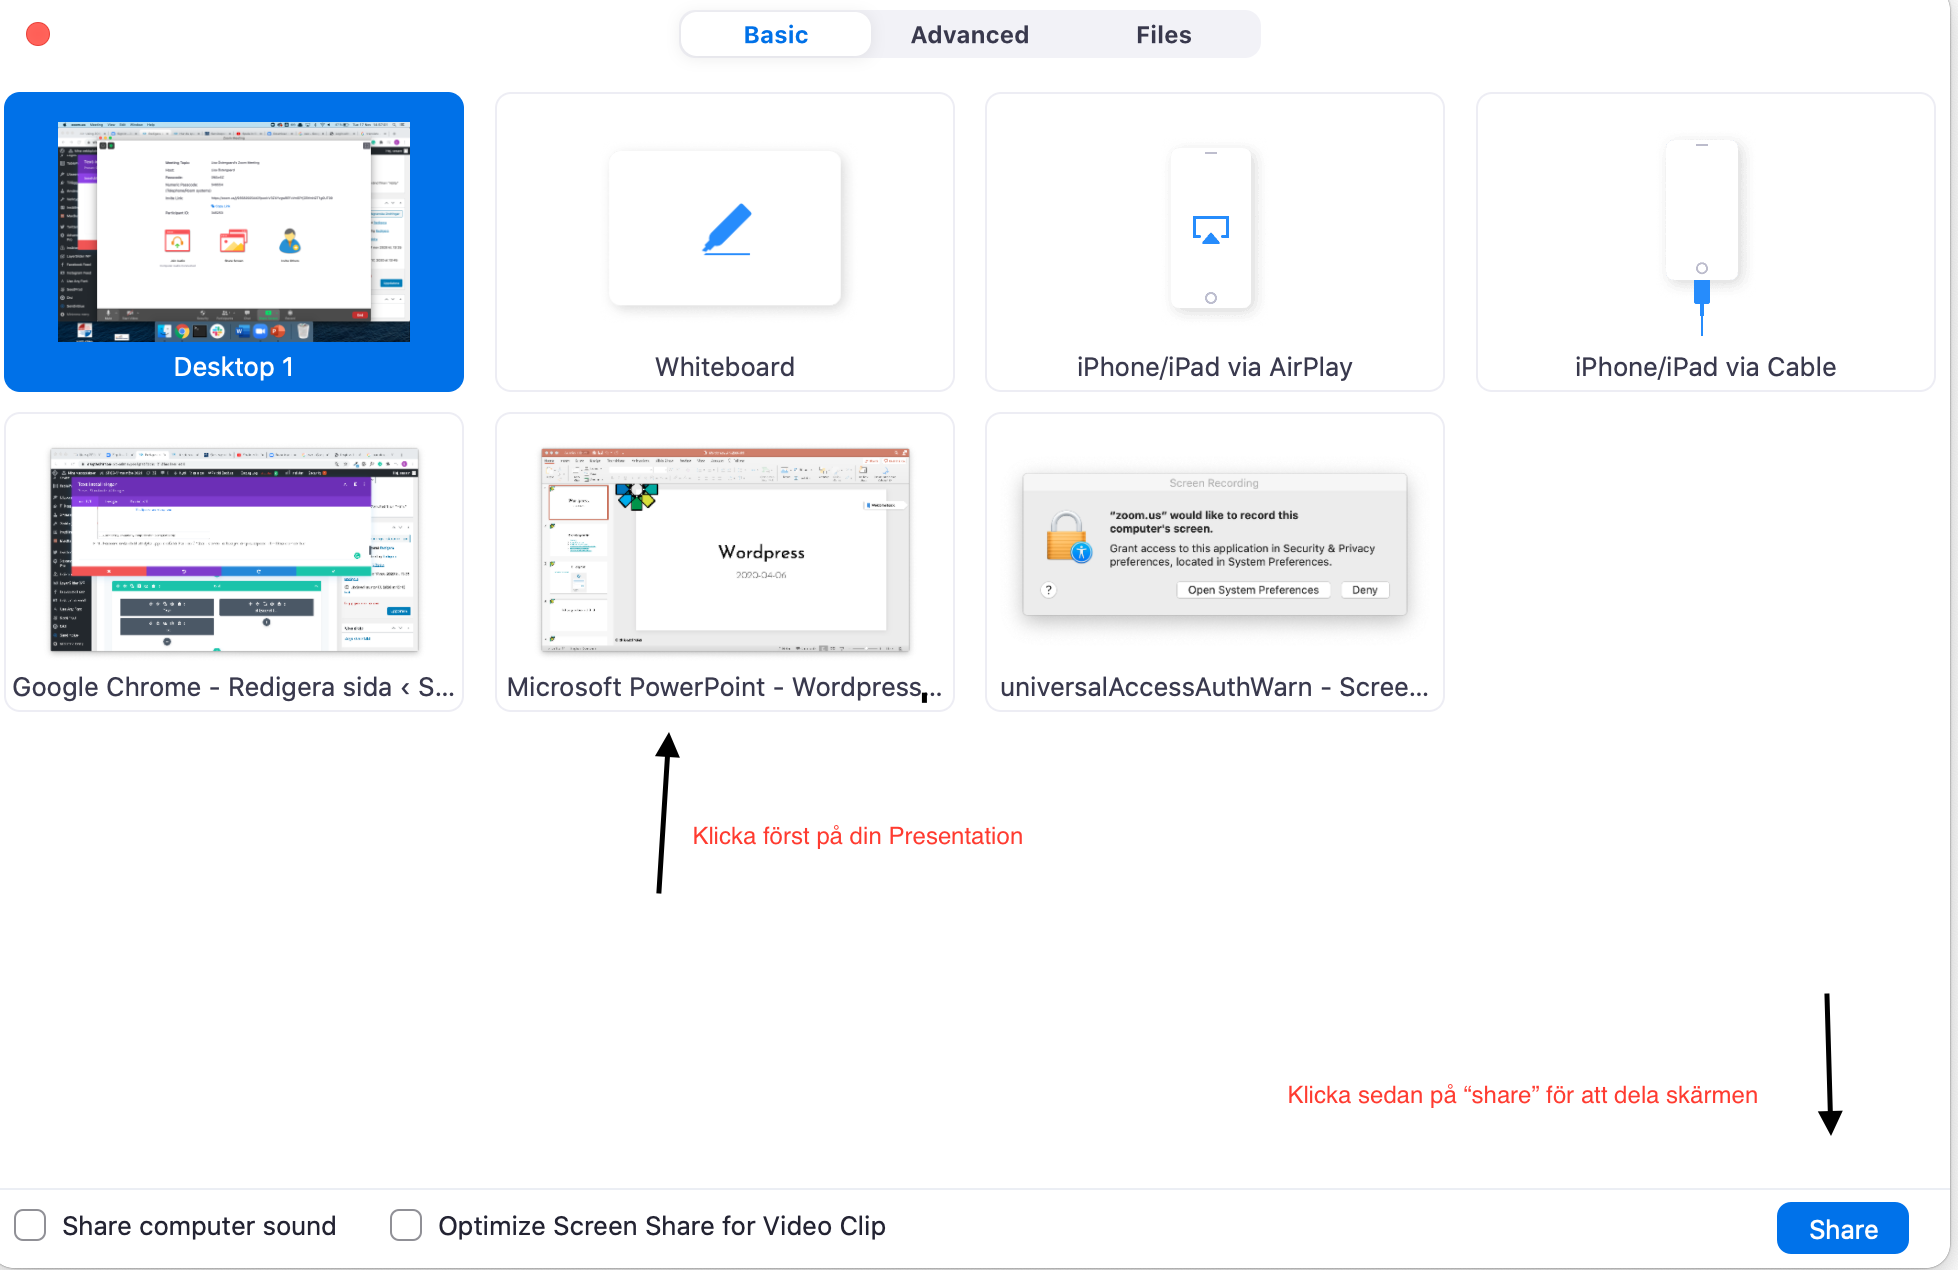
6. Now the image below will appear. Click on “share screen” and select your PowerPoint or similar.
Make sure you have access to:
- An MS PowerPoint Presentation or the document you will present
- A computer
- An audiovisual recording device (camera, microphone and speakers)
- Internet
8. Now the image is shared and you can start recording. If you click on “more” at the top of the image and then “Record”, your voice and the slideshow will start recording (See black arrow in the image below). You can click the same button and to stop the recording. If you would like to add a video recording of yourself presenting, you can click on “start video” (see red arrow in the picture below).
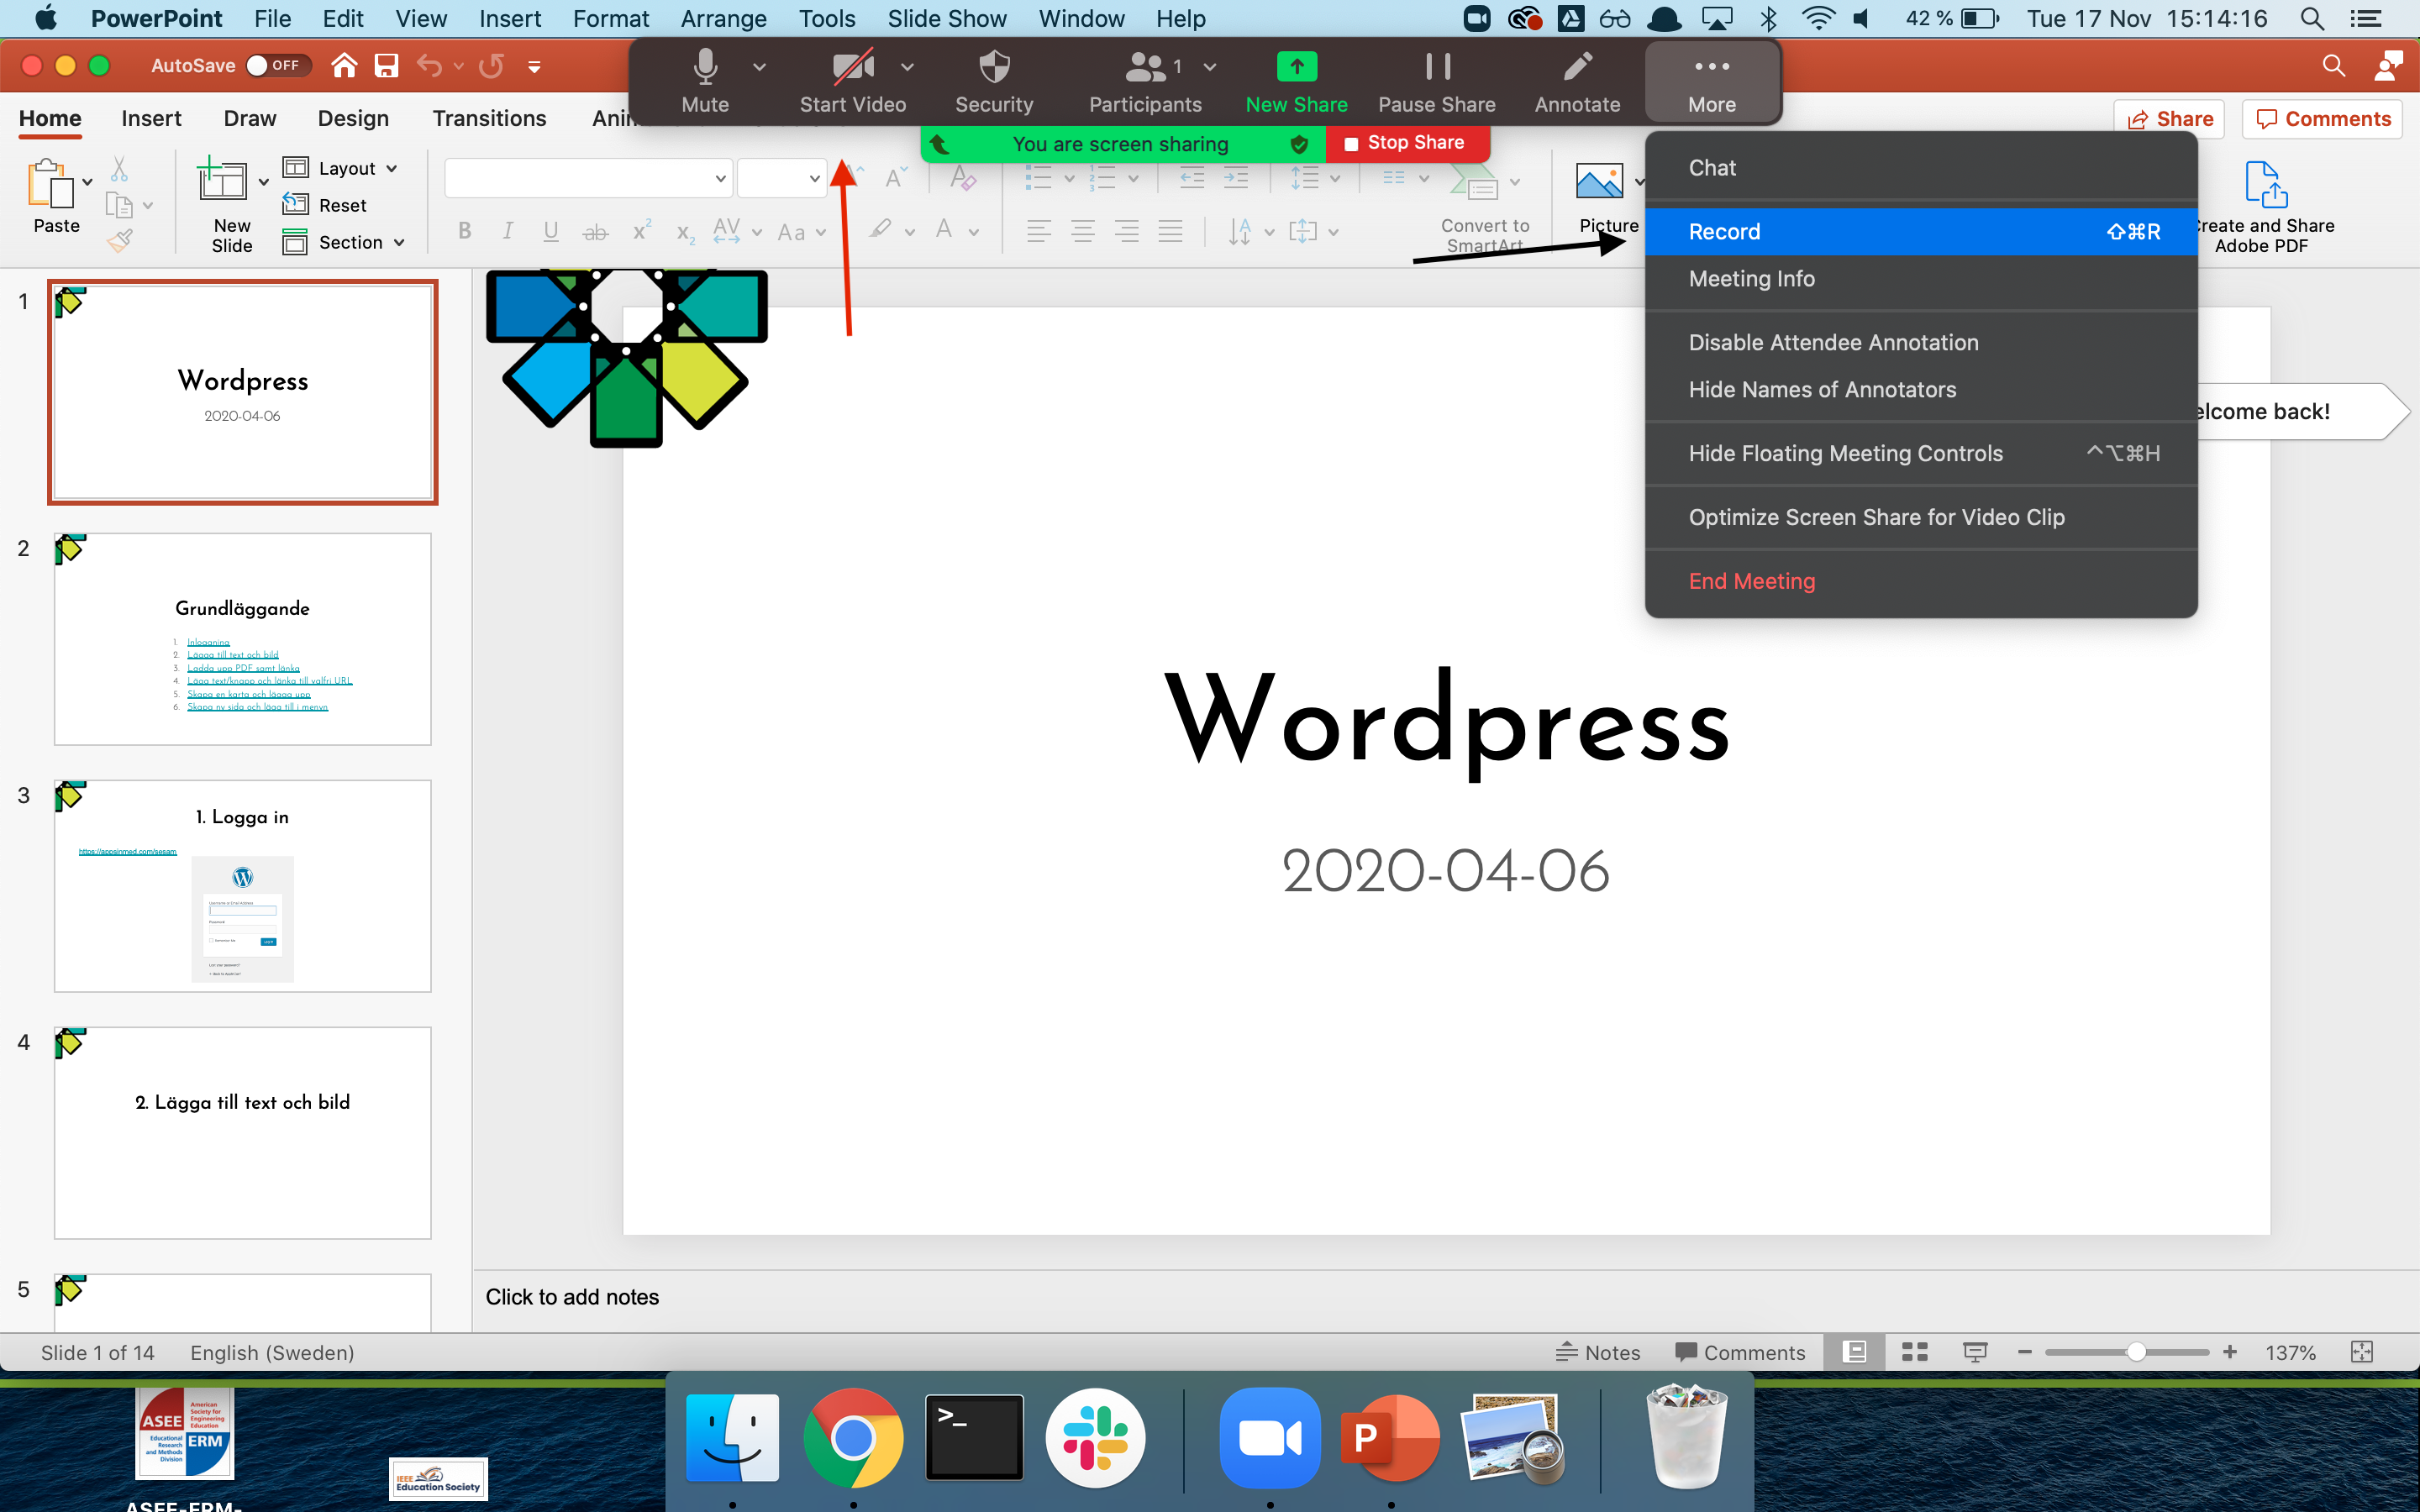
9. Note that the file with your recording will be automatically saved within “documents” on your computer. If you go to “documents” and look up a folder called “Zoom” you will find the file with the recording. If the file is not converted to a .mp4 file automatically after you finish recording and the meeting, you can double-click it and the file will change to a .mp4 file.
Before:
After:
Recording presentation via Teams
Information to record presentation via Microsoft Teams
(1) In Microsoft Teams, go to Calendar tab and click the button “Meet now” to start a meeting without invite any participant.
(2) You will now see an option to join now. Before you join, select devices to check that your preferred device settings are selected for audio and video input. Also check the audio icon indicates audio is on (a line through the icon means it is off).
Make sure you have access to:
- An MS PowerPoint Presentation or the document you will present
- A computer
- An audiovisual recording device (camera, microphone and speakers)
- Internet
- A Microsoft account
(3) Make sure to unmute yourself and you can start your presentation, you can upload your presentation files by clicking the Share button “
(3) Once ready to record your presentation, click on the three dots “More actions” from the meeting control bar and click “Start recording”. See below picture:

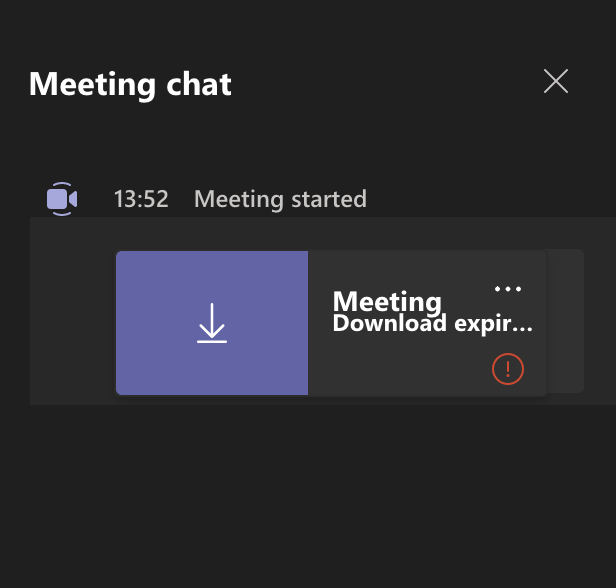
(4) When finished with the presentation, click “More actions” and then click “Stop recording“.
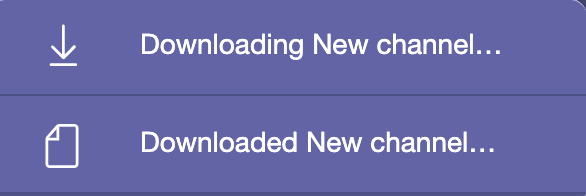
It might take some time to process the recording, when it’s completed, the recording will appear in the meeting chat for that Team’s channel. The option to download content will appear as displayed in the screenshot below.
For your reference:
Organiser
Organiser
Organiser
Organiser
office@jernkontoret.se
+46 8 679 17 00
Box 1721
SE-111 87 Stockholm
Sweden
Conference Secretariat

Academic Conferences
Professional Congress Organiser
estad2021@akademikonferens.se
abstracts.estad2021@appinconf.com
Direct: +46 18 67 15 33
Switchboard: +46 18 67 10 03
PO Box 7059
750 07 Uppsala
Sweden